Setting Up Reporting
When you first open the ReportList addon (from Reports in the sidebar), a default reporting configuration will be imported.
This includes some of the standard report-generation libraries, a small logo, and a single sample report.
It's always a good idea to do some basic setup before you begin creating reports.
Settings
When logged in as an administrator, you'll see the information button in your list of reports. Click here to access administrative settings.
You'll find a number of different pages in this section…
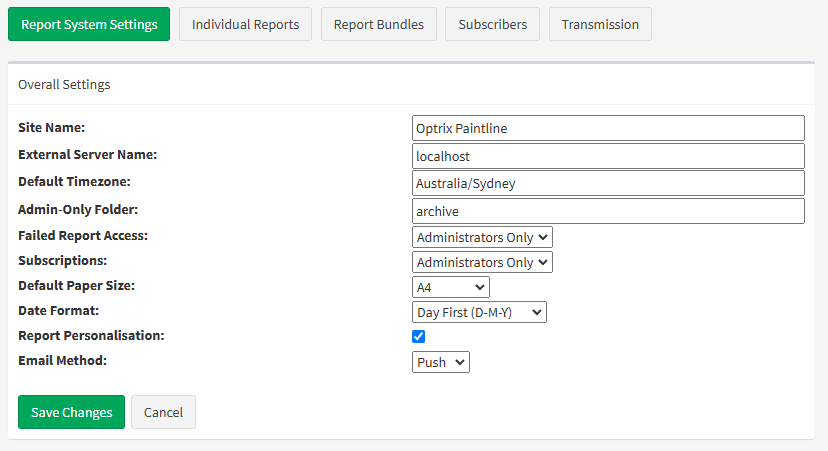
- Report System Settings (overall reporting configuration)
- Individual Reports (per-report settings)
- Report Bundles (grouping reports for distribution)
- Subscribers (destinations for report distribution)
- Transmissions (logs of report delivery attempts)
To begin, we'll want the Report System Settings.
Here you can adjust some of the settings for the overall reporting system.
Site Name
This is the site name used by default in all of your reports. It appears in the report headers and in the content of any emails that are sent.
External Server Name
This is the web address people will use to access the reports remotely. By default, this will be set to 'localhost' and should be updated to use the domain name or external IP address of your ARDI system.
Default Timezone
The name of the local timezone. Unless overridden, this timezone is used for all reports.
Admin-Only Folder
Your reports are organised into folders. You can specify one folder that is only available to administrative users. This is often used to store archived or in-development reports that aren't ready to be seen by the public.
Failed Report Access
If a report fails to generate, the report system will highlight it and place it in the 'Failed Reports' folder. This option allows you to choose if that folder is available for administrators only, or for all system users.
Subscriptions
Subscriptions can either be managed by Administrators Only, or can be publicly available to allow users to control their own subscriptions to reports.
Regional Settings
Default Paper Size and Date Format allow you to customise the reports for different regions of the world. Note that the report system will still internally use YYYY-MM-DD date format in many places - this is done to ensure reports sort appropriately when placed in folders.
Report Personalisation
This enables or disables the ability for people to customise their reports. Report personalisation allows users to opt-out of specific report pages that they aren't interested in.
Email Method
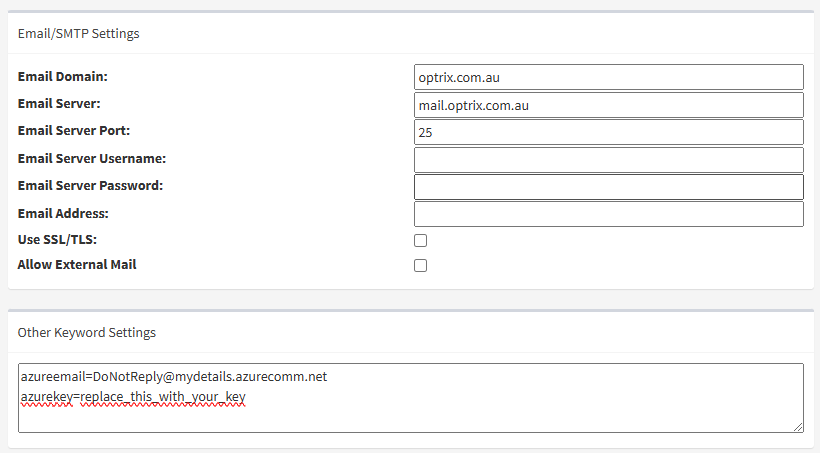
When set to 'SMTP', emailed reports will be sent via traditional SMTP email (note - you'll need to set some of the options in the 'SMTP Settings' section.
When set to 'Push', an alternative email transmission method will be used.
Next Steps
Once you have completed the initial settings, it's time to Add a Report

