Addons
Addons are used in ARDI for several reasons….
- To integrate ARDI with another system, such as a Document Management System or ERP system.
- To provide additional visualisations, such as the Notify addon.
- To extend the functionality of ARDI and allow additional features that aren't part of the core product.
- To tailor ARDI to specific markets, languages or application requirements.
Installing Addons
For security reasons, addons need to be installed onto your system manually.
On Debian-based Linux distributions, you can use the following command…
sudo apt-get install ardi-<addonname>
Where addonname is the name of the addon. For example, notifier or adauth.
For Windows systems, download the addon from the 'Downloads' area of the Optrix website and install on the server machine.
Enabling Addons
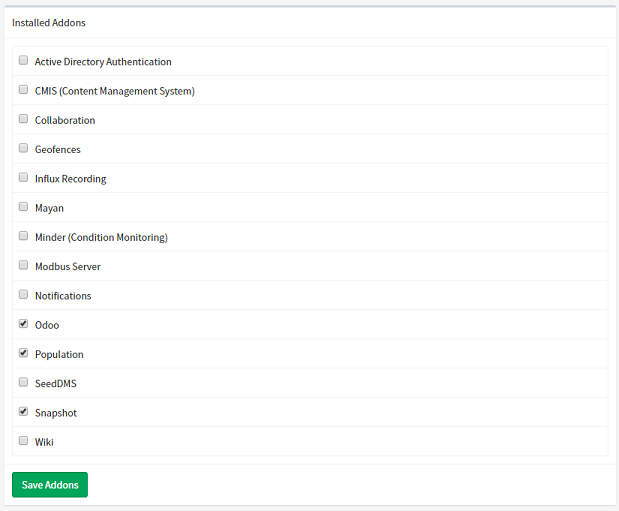
Installing the addon simply makes it available - you'll also need to enable the addon for the databases that use it.
- Navigate to the administration page.
- Choose 'Addons'
- Check all of the addons you want to enable
- Click 'Save'
Configuring Addons
Some addons are seamless and begin to work immediately. Others - particularly integration and user authentication addons - will need some more configuration.
Addons will usually create a new button on the administration page that allows you to update global settings.
Available Addons
See the Addon List to discover what ARDI addons are available.

